You’ve got the smart device, and you’ve got the internet connection. But before you can make use of either, they have to be connected – and accomplishing this isn’t always easy.
In this blog, we’re going to run down how to connect some of the most popular smart devices to your wireless internet, so you can get right to surfing, browsing, or streaming.
- Smartphones and Tablets
- Smart Speakers
- Smart TVs
- Media Streaming Devices
- Computers
- Gaming Consoles
- Troubleshooting Your Wireless Connection
Smartphones and Tables
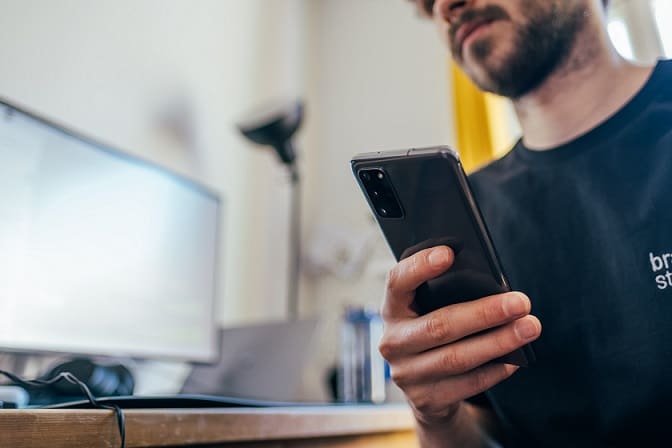
Depending on your cell phone plan, your smartphone may have access to the internet via your cell phone service provider’s network. But these plans are often expensive, especially if you go over your plan’s limit.
If you’re at home, it’s always a good idea to make sure your device is connected to your WiFi network to avoid overage fees on your monthly cell phone bill. Here’s how to connect your phone to WiFi.
iPhones/iOS Devices
You should be able to connect all Apple devices running on iOS (like iPhones, iPads, and iPod Touches) in a similar manner.
- Choose “Settings” on the home screen.
- Select WiFi on the Settings screen.
- Turn on WiFi access to your device by toggling the gray switch from off to on. It should turn green to indicate it’s on.
- Your WiFi network should then pop up as an available network. Select it.
- If your network is password-protected, you’ll have to enter the password.
- Your iOS device should now be connected to your WiFi. A blue checkmark will appear next to the network you’re connected to.
Android Phones and Tablets
The exact wording of the menu items may vary from Android phones and tablets, but connecting them to the internet should still follow these steps:
- On your home screen, swipe down from the top of the screen, dragging down the menu.
- Press and hold the WiFi symbol until the WiFi menu pops up.
Alternatively, you could select the “Settings” option in your Apps menu. Then, select
Network & internet”, and then select “WiFi.”
- Toggle the “Use WiFi” switch at the top to on, giving your device access to WiFi. It’s on if the circle is to the right and that line is highlighted blue.
- Select your wireless network name from the list of available networks that populates below the switch.
- If your network is password-protected, enter your password.
- Once connected, your WiFi network should appear at the top with the words “Connected” underneath.
Amazon Kindle Tablets
If you have a smart device from Amazon, like a Kindle Fire tablet, you should be able to connect to your wireless internet by following these steps.
- Open the “Quick Settings” menu by swiping down from the top of the home screen.
- Select the WiFi icon to access the wireless submenu.
- Next, toggle on the WiFi switch, allowing your device to search for wireless networks. The small circle will be to the right of the switch if WiFi access is turned on.
- Once your network shows up, select it.
- If your network is password-protected, enter the password and choose “Connect.”
- Your Kindle device should now be connected to the internet. The network you’re connected to will appear at the top and will say “Connected” at the bottom.
Smart Speakers
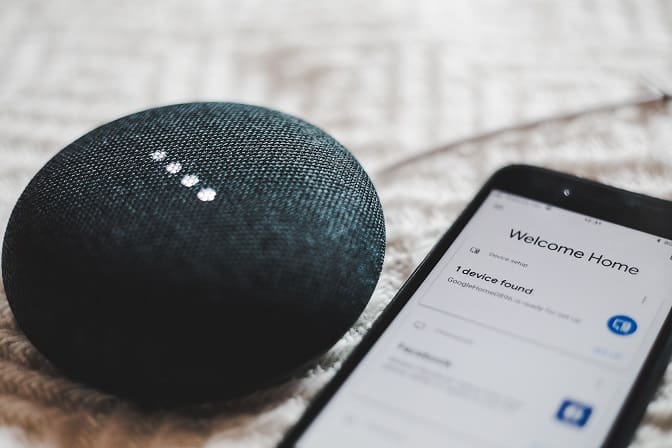
From playing your favorite music to keeping your shopping list up-to-date, smart speakers give us the physical freedom from typing and staring at screens, but still give us the convenience, assistance, and knowledge of other smart devices. They’re the first real step to our smart homes.
However, if they’re not connected to the internet, they won’t be much help. And with no real screens or menus, getting them connected can be a little bit different than what we’re used to.
Amazon Alexa
Amazon’s Echo devices were one of the first smart speakers, and they are still some of the most popular on the market. Here’s how to connect Alexa to the internet.
- Plugin your Amazon Echo.
- Grab your smartphone or tablet, and download the Alexa app. Then, open the app.
- Sign in to your Amazon account.
- Select the “Devices” option on the bottom menu.
- Click on the “Echo & Alexa” option.
- Select your device’s name. If you’re not sure what your device is named you can ask “Alexa, what is your device name?” If you don’t see your device, you may need to reset it.
- On the next menu, click “Change” next to “WiFi Network.”
- From there, your app will launch on-screen prompts that will walk you through the steps for your specific Alexa device.
If you don’t want to or are unable to install the Alexa app, you can do so with a web browser.
- Go to alexa.amazon.com
- Log in to your account or create a new one.
- Go to “Settings.”
- Click “Set up a new device.”
- Select the device you’d like to connect.
- Prompts will then appear on the browser, walking you through step-by-step directions of how to connect your specific Alexa device.
Google Nest
Google Nest lets you interact with Google Assistant in a smart speaker form. Bonus: they’re made from recycled plastic!
To get your Google Nest set up and connected to WiFi, follow these steps:
- Grab your cell phone or tablet and download the Google Home app.
- Make sure your speaker is plugged into a power source.
- Set up a home on your Google Home app, if it’s the first time using the app.
- Click on the “+” icon in the top left-hand corner.
- Then, select “Set up a device.”
- Select “New device” on the following screen.
- Select the “home” your Nest will be located in, and then click “Next.”
- The app will then search for your device. Your device should appear.
- A series of prompts to connect and set up your device will then appear on the app, which will be specific to your device.
Apple HomePod
Apple’s HomePod allows us to welcome Siri into our homes as an interactive smart speaker that can answer our questions and help run our homes. Unlike other smart devices, your HomePod will automatically connect to the same WiFi network as the iOS device you used to connect the speaker.
To get your HomePod setup and connected to your wireless internet, follow these steps.
- Plugin your HomePod, and wait for the chime and light to flash.
- Then, unlock your iOS device (iPhone, iPad, iPod Touch) and hold it close to the HomePod.
- A window will pop up with a picture of your HomePod. Click the “Set Up” button at the bottom.
- A series of prompts will walk you through the set up for your device, allowing you to choose your device options and settings.
- Then, you’ll have to physically center your device over the HomePod to complete the pairing.
If your HomePod set up window is not showing up on your iOS device:
- Go to your device’s “Home” app.
- Click on the “+.”
- Click on “Add Accessory”, and then “Don’t Have a Code or Can’t Scan.”
- Then, select “HomePod” and follow the on-screen instructions.
Smart TVs
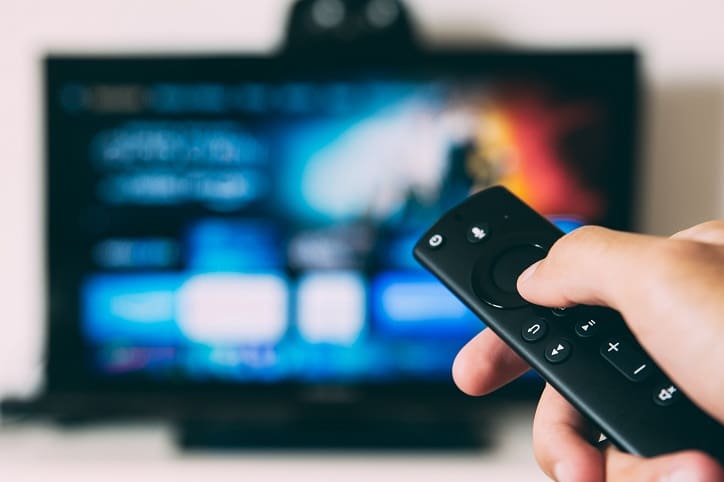
Smart TVs make it even easier to cut the cord to cable television. They give you access to streaming services with just a few clicks on your remote, which can be a much more affordable option than traditional cable. But to take full advantage of your smart TV, you’ll have to first connect your TV to the internet.
How do you connect the internet to a smart TV? Some have a wired connection, meaning you can connect it to the internet with an ethernet cable that’s also connected to your router. This can provide for a faster connection over WiFi, but limits your location options and may require a trailing cord that can look untidy.
If you want to go wireless, though, we have you covered. But unlike smartphones and smart speakers, there aren’t two or three brands/models that make up most of the smart TVs in America. We’ve gone through the menus of the top few, but your specific TV brand may not be on our list.
That said, all smart TVs should have a similar setup when it comes to connecting your TV to the internet. So while some of the wording of the menu options may not match up, it should still give you an idea of where to navigate.
Samsung Smart TVs
- Grab your remote and turn on your TV.
- Go to “Settings” and click to open the menu.
- Then, select “General”, and then “Network.”
- Click on “Open Network Settings.”
- You should then see your wireless network name appear. Click on it, and enter your password if needed.
- Finish up by pressing “Done,” and “Ok.”
Sony Smart TVs
- Grab your remote, power on the TV, and press the “Home” button.
- Then, go to “Settings”, then “Network”, and then “Network setup.”
- From there, you’ll want to select “Set up network connection” or “Wireless Setup.”
- Then, select whichever of these options appear: “Wireless”, “Wireless Setup”, or “Wireless LAN.”
- Your WiFi connection should appear. Select it, and enter the password if necessary.
LG Smart TVs
- Grab your remote, turn on the TV, and click the SMART button.
- Scroll to the “Home” menu, and select the “Settings” button, and “Ok.”
- Then, select “Network”, and “WiFi Connection.”
- Select your WiFi network and enter your password if needed.
VIZIO
- Grab your remote, turn on your TV, and press “Menu.”
- Then, select “Network”, and then “OK.”
- Next, select “Network Connection.”
- Choose “Wireless”, and all available WiFi networks will be displayed.
- Choose your WiFi network and enter the password if needed.
TCL
- Grab your remote, power on your TV, and open the main screen.
- Select “Settings.”
- Then, choose “Network”, and then select “Wireless.”
- A list of available WiFi networks should then show up on your screen. Choose the one you’d like to connect to and enter the password if needed.
- Scroll down and select “Connect.”
Media Streaming Devices
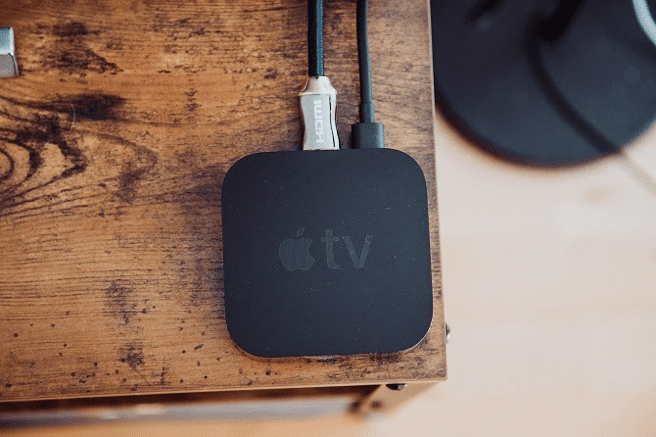
Media streaming devices are relatively small add-on hardware that can connect to your TV to allow you to stream from another device. These devices are more affordable than buying a whole new Smart TV. As long as your TV has the necessary input port (often HDMI), you can turn any TV into Smart TV! But before you get streaming, you’ll need to connect the device to WiFi.
Roku
Roku’s streaming players give users access to a huge library and free and paid content to stream right on their device. Here’s how to start streaming:
- Plug in your Roku to an open HDMI port on your TV, and power it on.
- Select the HDMI port that the Roku is plugged in to. On most remotes, you can do this by pressing the “Input” or “Source” button.
- Once the correct HDMI port is selected, the Roku home screen should appear. Grab your Roku remote.
- Click “Settings” and then “Network.”
- Then, choose “Wireless (Wi-Fi)” and “Set up new Wi-Fi connection.”
- A list of the available wireless networks should appear. Choose yours, and enter the password if applicable.
Apple TV
Not to be confused with the streaming service Apple TV+, Apple TV is plug-in hardware that gives you access to the internet on your TV. Here’s how to get it hooked up to WiFi.
- Power on your TV, plug your Apple TV device into an available HDMI port.
- Grab your TV remote, and select the appropriate HDMI source. You can do this on most TV remotes by pressing the “Source” or “Input” button.
- One the correct HDMI source is selected, you should see the Apple TV home screen appear. Grab the Apple TV remote and choose “Settings.”
- Then, choose “Network” and then select the box under “Connection.”
- Once the Apple TV scanned for WiFi networks, select yours, and enter your password if needed.
- To confirm connection, you should see your network’s name under “Connection.”
Chromecast
Unlike other streaming devices, Google’s Chromecast doesn’t have it’s own interface with the ability to download streaming services and apps. Instead, it allows you to cast media that’s being played on another device to your TV. This helps keep the price much lower, however, a second device (like a smart phone or computer) is needed. To get your Chromecast connected to WiFI, follow these steps.
- Plug the Chromecast into your TV’s HDMI slot.
- Grab your TV remote, power it on, and select the HDMI source that the device is plugged in to. On most TV remotes, you can do this by selecting the “Source” or “Input” button.
- Then, grab a smartphone or tablet that’s connected to the same WiFi as your Chromecast will be connected to. Download and open the Google Home app.
- The app should then recognize the Chromecast and initialize a series of on-screen prompts to get you connected.
- If the on-screen prompts don’t appear, select the “Add +” button at the top left of the Google Home App.
- Then, choose “Set up device”, “New device”, and follow the remaining steps.
Amazon Fire TV Stick
Amazon Fire TV Stick gives you access to Amazon Prime’s video library, as long as you already have an Amazon Prime account. You can also utilize it to watch content on other streaming apps, like Netflix, Apple TV+, Disney+, and more. However, you’ll need separate subscriptions to access this content.
Here’s how to get your Fire TV Stick connected to the internet.
- Plug your Fire TV Stick into an available HDMI port on your TV.
- Grab your TV’s remote, power it on, and select the HDMI port you plugged the Fire TV Stick into. You can do this by clicking on the “Source” or “Input” buttons on most remotes.
- Once the correct HDMI source is selected, the Fire TV Stick menu should appear. Use the Fire TV Stick remote to select “Settings.”
- Then, choose “Network.”
- A list of available networks should appear. Choose yours, and enter the password if needed. If your network doesn’t pop up, choose “Rescan” at the bottom.
- Once the password is entered, click on the “Connect” button.
- To confirm your connection, you should see “Connected” below your WiFi network’s name on the list of available networks.
Computers

Not too long ago, computers were the only means of accessing the internet. Despite all of our new smart gadgets, they’re still one of the most-used devices in our homes. That said, they become much more useful if they’re connected to the internet!
You can connect an ethernet cable to your computer for a wired connection to the internet, which will work fine with a desktop computer. However, if you want the freedom of a laptop, you’ll want to connect to wireless internet. Here’s how to connect a computer to WiFi.
Windows
- In the bottom right-hand corner of your screen, you should see a wireless icon. This will be next to the time/date and volume control.
- Click on the icon, which will bring up a menu showing all the available networks.
- Select the name of your network, enter the password if needed, and select “Connect.”
Macs
- In the top right-hand corner of your screen, next to the time/date and volume, you’ll see a wireless icon.
- Click on this icon, and the wireless menu will drop down, showing all the available networks.
- Select the network you’d like to connect to and enter the password.
If you don’t see the wireless icon in your menu bar, go to your Apple menu and choose System Preferences. Then, click “Network” and choose “WiFi” in the sidebar. You can then select “Show WiFi status in menu bar,” which will put your wireless icon in the location that’s described in step
Gaming Consoles
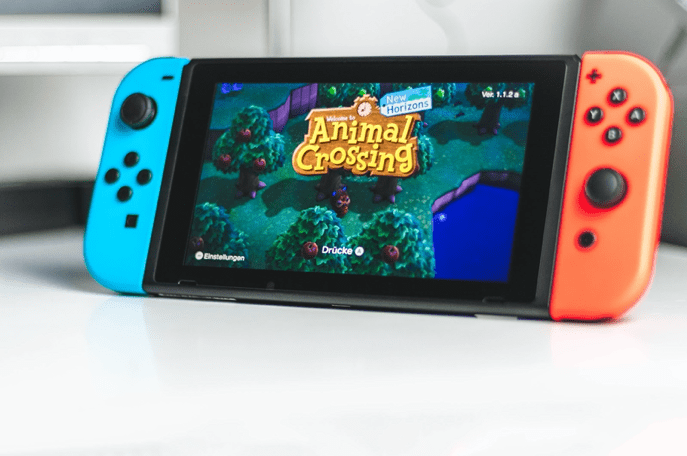
From playing online multiplayer games, to downloading new games, to watching content on your favorite streaming services, gaming consoles can do so much more when connected to the internet.
Xbox One
Xbox One offers a wide selection of online multiplayer games that are extremely popular. In addition, you can download a wide variety of streaming services that allow you to watch content right from your Xbox. Here’s how to get your Xbox connected to WiFi.
- Power on the console, and go to “Settings.”
- Choose “Network” and then “Set up wireless network.”
- Then, select your WiFi from the list of available networks. Type in your password if applicable, and then hit “Enter.”
- You should then see a message confirming the connection.
It’s worth noting that if you’d like to participate in online gaming, you’ll need an Xbox live subscription, which is an additional monthly fee. However, you do not need Xbox live to use the console’s streaming and entertainment apps.
PlayStation 4 & 5
Like Xbox, PlayStation also offers online multiplayer gaming and access to a wide selection of streaming and entertainment apps, as well as the ability to download games right to the console. In order to take advantage of online multiplayer, you’ll need to sign up for PlayStation Plus, which is available for an additional monthly fee.
Whether you’re setting up a PS4 or were lucky enough to get your hands on a PS5, the steps to connecting both consoles to WiFi are the same.
- Power on your console.
- From the home menu, choose “Settings.”
- Then, choose “Network” and click “Set Up Internet Connection.”
- Choose “WiFi” and then “Easy.”
- A list of available networks will then appear. Select the one you want to connect to, and enter the password if applicable.
Nintendo Switch
Switch does not feature streaming services and apps like Xbox and PlayStation, but it does still has internet connectivity, allowing you to play multiplayer games online and purchase games from the eShop.
In order to take advantage of Nintendo’s online multiplayer function, you need to subscribe to Nintendo Switch Online for a monthly fee. Here’s how to hook your Switch up to wireless internet.
- Power on your Switch and select “Internet” form the Home menu.
- Then, select “Internet Settings.”
- Your Switch will automatically look for wireless signals. Choose your network from this list and enter your password if needed.
- Select “Ok.:
- The console will then test the connection. Once completed, you can press “OK” and wrap up the process.
Troubleshooting Your Wireless Connection
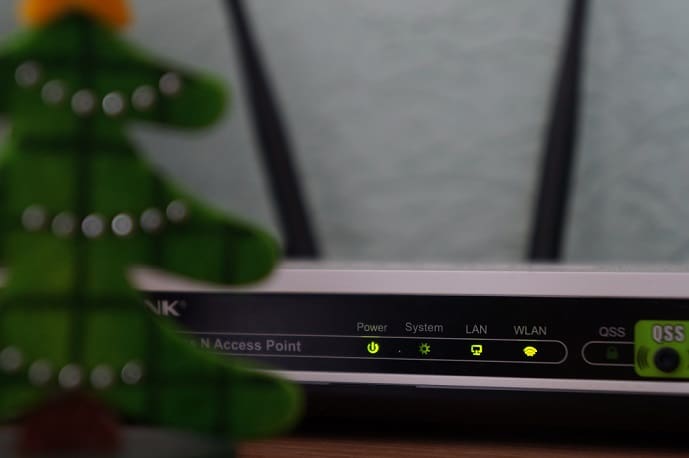
If you’ve followed the directions for your device but are still having connection issues, you may want to try out some of the following actions. We’ve outlined a few common factors for why your Wifi isn’t working.
Make Sure Your Device Is Within Range
Wireless routers’ range varies depending on environmental factors and the device itself. Most wireless routers’ range maxes out at around 150 feet in an indoor setting. You’re more likely to get a further signal if you keep the antennae on the router pointing up, and have the router in an open space.
Sometimes, placing it on a small shelf where it’s boxed in or hiding it behind something decorative could potentially decrease the signal’s power. Being outside will also significantly decrease the reach of the signal.
Many devices have a small WiFi icon next to the internet you’re trying to connect to. Each band in the symbol represents signal strength. If none or just one of the bands are showing up, it could be a sign of a weak connection.
Make Sure Airplane Mode Is Turned Off
Airplane mode shuts off your device’s access to any outside networks, like WiFi and cell service. Some devices even shut off Bluetooth and GPS in airplane mode.
If airplane mode is turned on, you won’t be able to connect to your wireless internet.
Make Sure You Have Internet Connection
Outages are frustrating, but they can occasionally happen to even the most dependable internet service providers. Be it an issue with your hardware or the connection itself, you should be able to tell if this is preventing you from accessing the internet.
In your device’s WiFi menu, navigate to your wireless connection. Look for the WiFi symbol. If there are no bars highlighted, or there is an “!” or “X” over the symbol, you likely don’t have an internet connection.
This could be caused by several issues–some in your control and out of your control.
Troubleshoot by making sure your router is connected to your modem. If this doesn’t help, restart your router by unplugging them for a few seconds.
Contact Your Service Provider
If your connection problems persist, reach out to your internet service provider. They should be able to help you resolve the issue, or let you know if it’s part of a wide-ranging outage that is impacting other customers that they’re working on.
All Wireless Devices Need Reliable Internet
Whether it’s a phone, tablet, smart speaker, smart TV, or laptop, your device can do much more once connected to the internet. But no matter how much you spend on the device itself, if your internet connection is unreliable or slow, you’ll be left frustrated and even unable to use your device.
With more and more of our daily routine integrating with the internet, we need a dependable internet connection with speeds that keep things working smoothly.
At Upward Broadband, we’re out to provide broadband internet to Chester, Franklin, Fulton, Huntingdon, Mifflin, and Lancaster County, PA.
